Tuesday, September 19, 2017

Building a Skerry

Booooriiiing!!!

  • Day: Who knows, I lost count
  • Total Build Time: Don't know, don't care. See above


I really hate fiberglass and epoxy. What was I thinking building a "wooden boat" that is fully covered in the stuff then? And I was only halfway there or less. Hey, it's only been a year! Give me a break! 

Of course, I actually did have a reasonable excuse. I had shoulder surgery February 7th, and the recovery was just as long as everyone had warned me about. But, I was finally feeling good enough to get back in there and get to work. It was time to sheath the interior in fiberglass and coat it in epoxy.


Sheets of fiberglass are cut to rough size and placed in the boat


Excess will be trimmed off once the epoxy has been wet out and cured slightly


The first fill coat goes over the fiberglass


It's important to try to get as much extra epoxy out of the weave as possible


Here the epoxy has started to cure...


...allowing me to trim off the excess fiberglass.

Once the fill coat of epoxy had cured overnight, I was able to return the next day and roll a coat of epoxy over all the interior surfaces, as well as the gunnels. Because the sides of the boat are so steep, trying to chase down runs was a constant battle. In the end it didn't really matter, the epoxy ran and glopped and in general made a mess. There was nothing for it...it was time to sand.


This is not the face of someone who loves sanding


At this point, the boat is about as ugly as it can get


The sanded epoxy looks chalky and hazy white


The bow and stern are covered by seats making watertight compartments so no sanding is necessary there. 


I found that for the interior my palm sander did a better job than my Festool random orbital


Sanding outside while I still had decent weather


For the final fill coat of epoxy, I decided to hoist the boat up and create a flatter area in the hopes the epoxy would run less. This meant doing it in three stages, but if it makes a better surface I don't mind the extra time.


My method for connecting a strap to the side of the boat


And the resulting finish is going to be much better!

Once the final coat of epoxy cures I can start working on the interior components and start making this into more of a functional boat! I will be so glad to move past this incredibly boring part of the build and on to more interesting things than sanding, and sanding, and sanding...and sanding....and.....sanding......

-Update as of September, 2019- I sold the Skerry as it was at this point. The Seattle housing insanity of 2018 and a landlord who jacked our rent $700 in 4 months meant we had to move, and I had nowhere to finish the boat. The person I sold it to offered to sell it back a few months ago, but was asking too much, so I let it go. Very disappointing not finishing it, but as future blog posts will show, it all worked out for the best. I would much rather sail boats then build them. I had also sold the Duckpunt, but when the person who bought that one offered to sell it back to me...I bought it back!

A Fat Trike is born!


I had finally put together (I thought) all the parts needed to finish building my trike. The first step in getting this beast rolling was front wheels, which I decided to build from scratch so I could use my favorite Sun Ringle Mulefut rims. Azub had provided the trike specific fat front hubs so I took the components to the shop for assembly. Calculating the spoke length was tricky because although there was no necessary dish (offset) to the wheels, there was also no locknut with which to measure for spoke calculations! I finally decided to use a thru axle adapter to create a point of reference and managed to get a spoke length I hoped would be correct. It turned out they were probably one millimeter too short, which doesn't seem like much, but in wheel building can be problematic. I'm sure they will be fine, but I wish they had that extra millimeter. Mounting the tires was literally a snap. The Mulefuts and Schwalbe Jumbo Jims are very easy to set up tubeless, which was one of the reasons I wanted to use that combination, and they popped right into place with no leaking whatsoever. 


A little Spoke Prep on the threads, colored so you remember right from left!


The massive amount of offset made for an unwieldy build but makes a really strong wheel, although the nipples are under tremendous stress with the bracing angle


The first wheel, laced up and ready for truing. The wheels are built offset dishless using only one set of spoke holes.


And both wheels ready to go!

The next step was assembling the frame components. The frame plates were thoroughly greased and torqued together using the excellent threaded alignment pins


Definitely more secure than a folding frame design

Then I was able to mount up my newly built front wheels.


I really need to build a trike repair stand!


Both wheels on


Here I have to point out one of my first minor criticisms of the Azub Fat Trike...the quick release skewers. They are right and left hand threaded, which I guess makes sense? But they are very awkward to use and the leverage is either too tight or too loose, it's hard to find the sweet spot. And as the axle doesn't reference or "key into" the king pin in any way, trying to get the QR in the right spot to close so it's facing back under the frame crossbar just right is an exercise in frustration. Perhaps if you carry a Torx wrench, which is an uncommon size, to align the axle just right, but who wants to carry an extra tool just to install your wheels when the whole point is that they are quick release? I was just going to swap the QR's out for stainless bolts, but one of them being reverse thread eliminates that possibility. Maybe there is a trick I don't know, but I doubt it.

The next step was to mount the brakes. I ran into another snag here because the trike uses 140 caliper mounts even though the rotors are 160, or at least that was what I was using. And, of course, I only had one 140 caliper mount. Dammit! Well, I could at least get one mounted.


Having fussed with the QR's and mounted the front wheels and right brake I came upon my first major setback. The Azub rear frame is spaced at 190mm, the same as my Carver fat bike frame...I thought. Dammit! The Carver frame is 170, not 190! The beautiful Hope Fatsno rear hub I already had was useless, meaning the entire wheel was useless. I had to order another rear hub and rebuild the rear wheel, crap. Fortunately, the distributor is fast so I had another hub in no time and built and installed the correct rear wheel.


Wrong rear wheel just sitting in the frame to see what the trike looks like


My trike build stand. Right QR is wonky as usual.


In order to install the crank, I needed to install the boom, which went together with no problems. I wish the boom had a center mark on it to make centering it easier, but there is nothing there so you just have to eyeball it or use a level. I eyeballed it.


Boom installed. The rack mounts to the seat, which makes taking it off impossible, even though it has quick releases to do so. What is it with the QR challenges on this trike?

The Race Face Next Sl crank I was using was set up for a fat bike bottom bracket width and the fat trike has a standard bottom bracket width. Fortunately, the Next Sl crank is "future proof" and has a replaceable spindle to accommodate different frame standards. Swapping it out was simple enough with a youtube tutorial, and Race Face even provides the tool necessary to do it, nice! Once the spindle was swapped, I realized one of the tools I did NOT have was the Race Face proprietary bottom bracket splined tool, so there was no way to install the bottom bracket. Sigh. A trip to the shop to borrow the correct tool and I had the BB installed and ready for the crank.


Next Sl crank with old spindle removed and new one waiting to be installed


The finest crankset on the market!

I really like having bar ends on my trikes. It gives you a very natural place to rest your hands when riding on the flats and uphills, although I don't recommend it for the downhills! I was also excited to have internal cable routing in the bars, meaning I could run my brakes and shifter the "right way up" instead of inverted like you usually have to do on a trike.


Right way up brake lever and comfy bar end


Ready for cable and housing and final adjustment

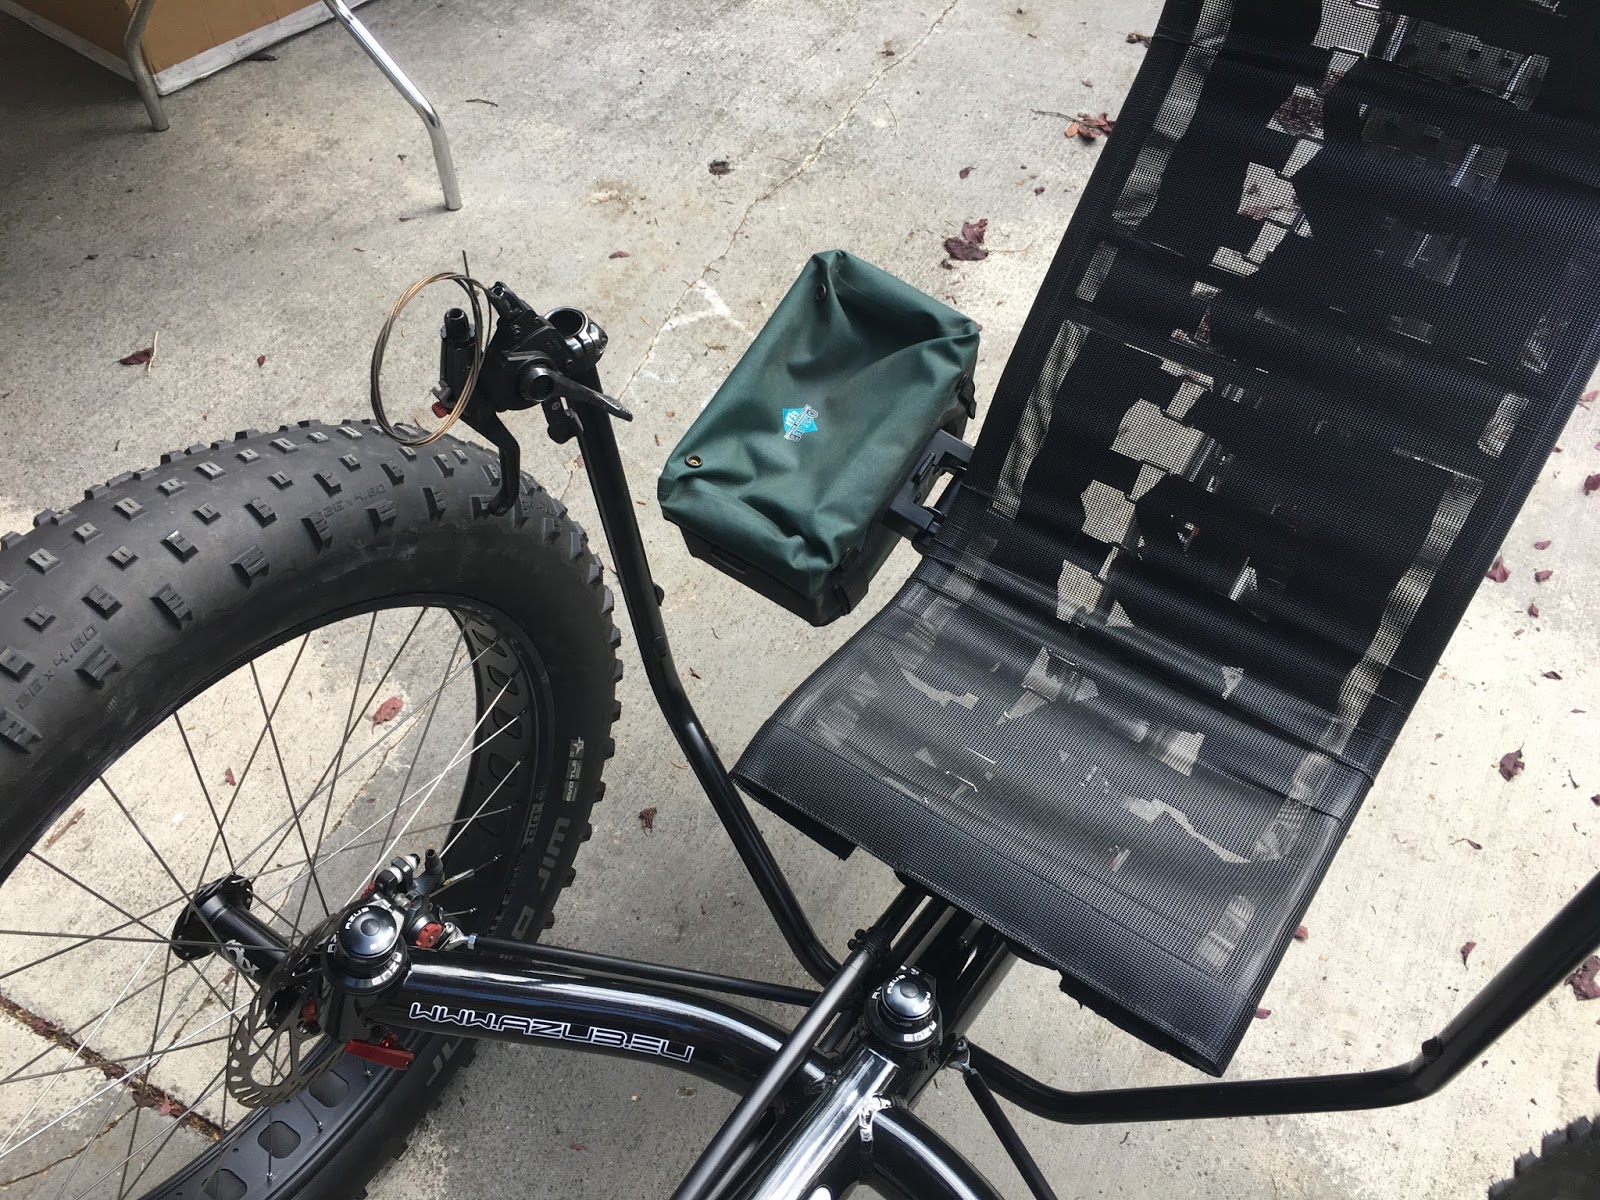
While I was waiting for an opportunity to get the trike into the shop for cable and housing I mounted up the auxiliary bag under the seat. I was so psyched they made this adapter because I had an Ortlieb handlebar bag that had been sitting around for years without my being able to use it. With the adapter, it is a perfect fit and is a great place to put those things you need ready access to while riding.


Ortlieb handlebar bag


Mounted under the seat on the wonderful Azub bar bag adapter


Almost ready for adventure!


Glamour shot

I finally had a free day to get the trike into the shop and cable it up. I started with the brakes. The front brakes are fairly simple, although the left brake caliper is mounted upside down so needs some creative cable routing. I ended up using V-brake noodles to simplify the cable run. The shift cable housing was a little bit more of a challenge because Azub only provides one cable guide on the bottom of the frame so you have to run a lot of zip-ties along the frame to keep the housing run clean and tidy. I'm not a big fan of zip-ties along the frame, I think it looks janky and I would much prefer to have integrated cable guides.


Internal routing is so nice and clean


Plenty of room for two pieces of housing

Azub provides a caliper mount for attaching a rear disc brake as a parking brake. I really like this idea so that was the way I went. I came up with another challenge here though in that I could not figure out an acceptable way to actuate the disc parking brake. I ended up buying a Paul downtube shifter adapter and mounting it low on the left bar with a Dura-Ace shifter as a brake lever. I'm not at all happy with it, and the holding power is terrible, but it is the only thing I have been able to figure out for now. I'm sure I will come up with something better at some point.


Rear disc parking brake


Paul thumbie with Dura-Ace shifter as a parking brake lever

And last but waaaaaaaaay not least I needed a chain. Well, not "a" chain, actually THREE chains! It takes a lot of chain for a recumbent, much like a tandem. But with the chain installed and some minor tweaks to the shift adjustment, the trike was ready to ride!!!


Get out of its way, this thing ain't stopping for no one!


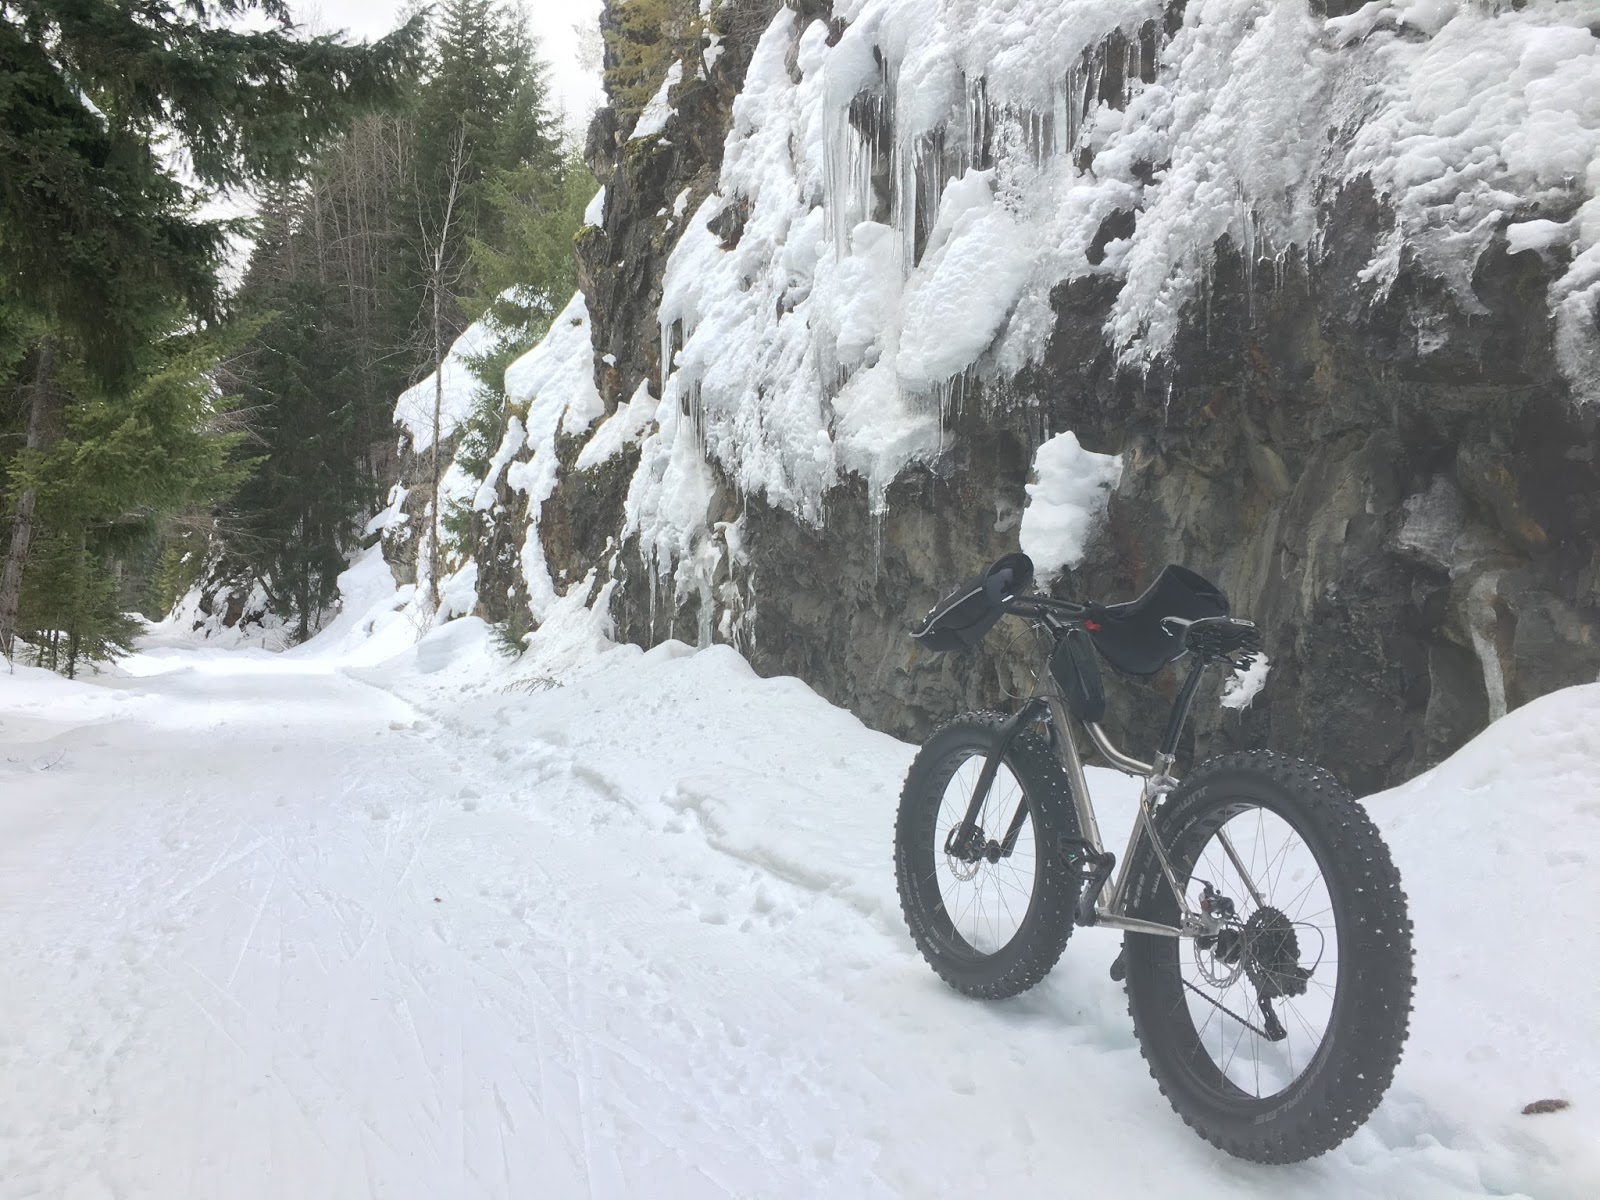
As I have said before, I am extremely impressed with this trike. There are a couple of little nitpicky things that I think could be improved on, but overall the design and execution of this trike is incredible, it really is a marvel of engineering. This is going to be an amazing back country exploration machine, I cant wait to get out there and have some adventures! 
Stay tuned for an update on my opinions after getting an initial ride in on this trike. Much more to come!

Sunday, September 3, 2017

Unstoppable

Once I put my mind to something, obsession often takes over, and there is no point in even debating with myself because I already know what the outcome is going to be. And so it was, once I discovered fat trikes!

With a long history of bikepacking, and being an early adopter of using fat bikes to get into the back country, it was only a matter of time before I decided that fat trikes would be my post surgery way back into riding off road. I did all the online research and had decided the ICE Full Fat would be my trike of choice. Several people are already using these trikes to get into the back country, most notably the "Trike Hobo" Steve Green. His website Trike Asylum is packed full of information on any trike you could imagine, and he has documented several adventures on his ICE Full Fat. I was lucky enough (very lucky it turns out!) to find one of the ICE Full Fats at my local recumbent shop, Angle Lake Cyclery, and I rushed down there to do a test ride at the first opportunity. And yes, I just have to post another picture of the store...


Standing in the entry of Angle Lake Cycle is an experience you won't soon forget! Back behind those boxes on the left is an ICE Full Fat Trike!


As I said in my last post, Dale is an amazingly nice guy, and despite his store's appearance he has some great products and he isn't bothered by needing to un-bury something to make it available. I asked for a test ride of the Full Fat, and he was more than happy to bring it out. With great excitement I rolled away on the beast, but...

I hated it...I HATED it! 

There was terrible overlap from the front tires and the handlebar/grip area. Every time I turned the wheels the tires raked over my knuckles, and there was no position I could place the bars in where there wasn't either overlap, or severely limited turning radius. This was a full suspension trike and it's handling was muddy, sloppy, and just dumpy feeling. Once I got off the trike to examine it I found slop in the rear suspension pivots allowing the rear wheel to flop back and forth. It felt like ICE just threw some fat bike wheels on one of their other trikes and called it good, like the frame was not actually designed to be a fat trike. It was awful to ride, and there was no way I was going to spend that kind of money on what I felt was such a poor design. I left dejected and crestfallen.

But, as I said, I am nothing if not determined and I knew there had to be a fat trike out there that was better designed for my intended use. Several other brands fell into the cheap, knocked together, Chinese built category, no thanks. Then a video came up on my YouTube feed showing a guy traveling long distance across a (partially) frozen lake on a fat trike, and the trike looked amazing! Here is that video of Jan Zdansky attempting to cross Lake Baikal-


The trike looked to be exactly what I was looking for. Fully rigid, meaning no sloppy pivots or added weight and complication, no hand/tire overlap, the seat was tucked over the rear wheel to increase traction, full fat 26" rims with 5" tire compatibility, a non folding option, standard Tubus rack compatibility, and they were willing to sell me just the frameset so I could build it up myself. It looked to be perfect, so I contacted AZUB and set into motion ordering a frameset all the way from the Czech Republic. After a couple of false starts and stops with bank transfer problems, the money finally went through and the frame was on the way! 

I had built up a custom Carver O'Beast ti fat bike last year shortly before my shoulder fell apart, so I already had almost all the components I needed to build up the trike once it arrived. 


At the annual Winthrop Fat Bike Meetup


Snoqualmie Pass


I will use the XTR shifter and derailleur from the fat bike, the Race Face Next SL cranks, XT cassette, Avid BB7 brakes and levers, the rear wheel, and tires. Then all I need to do is build up the front wheels and start hooking everything up. 


XT cassette, XTR derailleur, and BB7 brake with a Hope Fatsno rear hub, laced to a Sun/Ringle' Mulfut rim, and a Schwalbe Jumbo Jim tire, set up tubeless


Race Face Next SL crank and pedals


Avid levers and XTR shifter


The day finally arrived, and a large box was waiting for me at work. I took it home and unboxed it immediately! AZUB does a fantastic job of prepping the trike to be shipped, and everything arrived safe and sound. 


The shipping box was well packed, double thickness, and arrived undamaged


The saddle has many rows of straps to fine tune the comfort and fit


Micro adjusters and 12 positions allow for an infinite amount of saddle angle adjustment


Red anodized quick release for the seat mount


The boom has a beautiful cable guide


Massive dropouts make for a stiff rear end, despite not having a thru axle


Kingpins are ready for disc brakes


135mm Fat Trike specific quick release front hubs with red accents


AZUB's exclusive sliding seat mount


Massive separable plates with replaceable alignment pins for breaking the frame down for travel


A side pod mount will allow me to use my Ortlieb handlebar bag to keep necessities close at hand


Here is a short video of the trike unboxing


I'm really excited to get this monster built up! Evaluating it after the unboxing shows nice welds, carefully thought out design, and a gorgeous gloss paint job. I am so impressed with the way this trike was engineered, nothing was missed in the well thought out and executed design. From the massive separable frame plates with replaceable alignment inserts, to the internal cable routing through the handlebars, to the 135mm fat specific QR front hubs, to the AZUB exclusive sliding seat mount. This trike is going to be an amazing back country exploration machine!